
DIY – 6 Steps for Cleaning Your Dryer Air Vent Efficiently
Research from the National Fire Protection Association (NFPA) suggests that lint, fibers, and dust are some of the main causes of fire in home fires involving washing machines and cloth dryers. In 2010, the simple dryer was the cause of more than 15,000 home fires in the U.S. Beyond the risk of home fires; dirty and clogged up dryers will often lead to longer drying times, heat-damaged fabrics, and shrunken clothes. Clogged up dryers also tend to have messed up automatic cycles causing clothes to be either dried to a crisp or damp.
How to know if your dryer air vent needs cleaning
The key to cleaning your dryer air event effectively is to proactively spot when it is clogged and starting to function below optimal performance. For instance, if the dryer vent is clogged, you’ll observe that the drying cycle is becoming twice or thrice longer than in the past. Another sign that your dryer is not functioning optimally is that you’ll notice that your clothes and the dryer are hot to touch at the end of a drying cycle. In addition, if you perceive a burning smell when you run the dryer, it could mean that you haven’t emptied the lint trap in a while and the trapped lint is being scorched by the heat from the dryer.
Interestingly, the art of cleaning dryer air vent is not particularly difficult and you can save some bucks if you are willing to take the DIY route. This piece provides a simple step-by-step guide for cleaning your dryer air vent effectively. However, it’s best to call in a professional if there is worse damage. If you live in Wisconsin, for example, start by looking up dryer repair services in fitchburg and neighboring areas to find a reputable and experienced professional who can help you with your dryer repair.
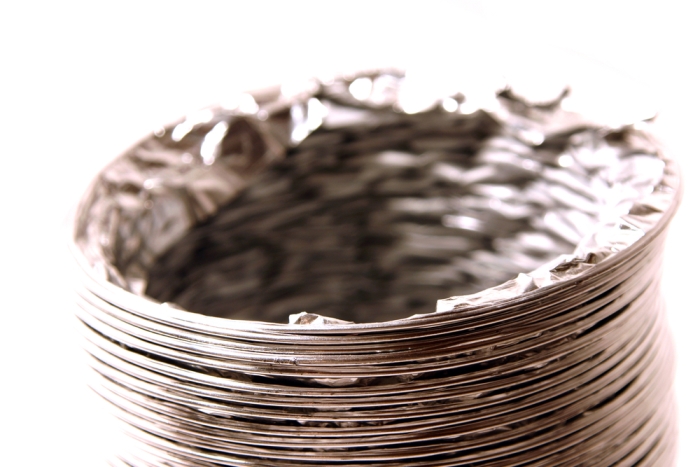
Step 1
Start by unplugging the dryer from the wall mains and roll it away from the wall. Dryer vents are usually about 4 inches wide, if your dryer has a metal vent piping, it will be rigid and straight with 45- or 90-degree angles. Some other dryer vent ducts might be flexible akin to the hosing found on vacuum cleaners.
Step 2
After you’ve unplugged the dryer and shifted it away from the wall, you’ll need to crouch down to inspect the piping between the vent duct and the dryer. You can then use a vacuum to clean the dust and lint that has settled around the ductwork as well as at the base of the dryer.
Step 3
The next step is to go outside to where exhaust from the dryer goes out of the house. You need to imbibe the culture of checking this exhaust regularly to be sure that it hasn’t become a nest for rodents or bugs. If the exhaust is blocked, fumes be forced back into your house and you’ll also be running the risk of having small animals crawling into your dryer.
Step 4
The next step is to check your kit for a four-inch bristle brush; attach the bristle brush to a flexible plastic rod in the kit, and then attach it to a cordless drill.
Step 5
The next action is to put your hands inside the vent and look for a flapper valve; you should be able to lift it, and you can clip it out of the way. You should then insert the bristle brush into the exhaust vent and then you can activate the drill. When the drill becomes operational, it will spin inside the vent, to unsettle dirt and dust; and the attached vacuum will suck in the debris.
Step 6
You’ll then need someone to go into the house to switch on the vacuum to begin suction. Once the vacuum starts working, you should be rotating the brush end of the drill while simultaneously pushing the brush up and down. When you’ve done this for about five minutes, you can pull it out and rest in the knowledge that dryer air vent is now clean.
Conclusion
You can go back into the house, return the vent piping to the dryer, and push the dryer back to its place close to the wall. If you take the time to apply the tips provides above, you’ll be pleasantly surprised to find your dryer return to its optimal performance. When a dryer is operating at its optimal performance, you’ll get perfectly dry clothes and you’ll lessen the risk of a home fire on your property.


