

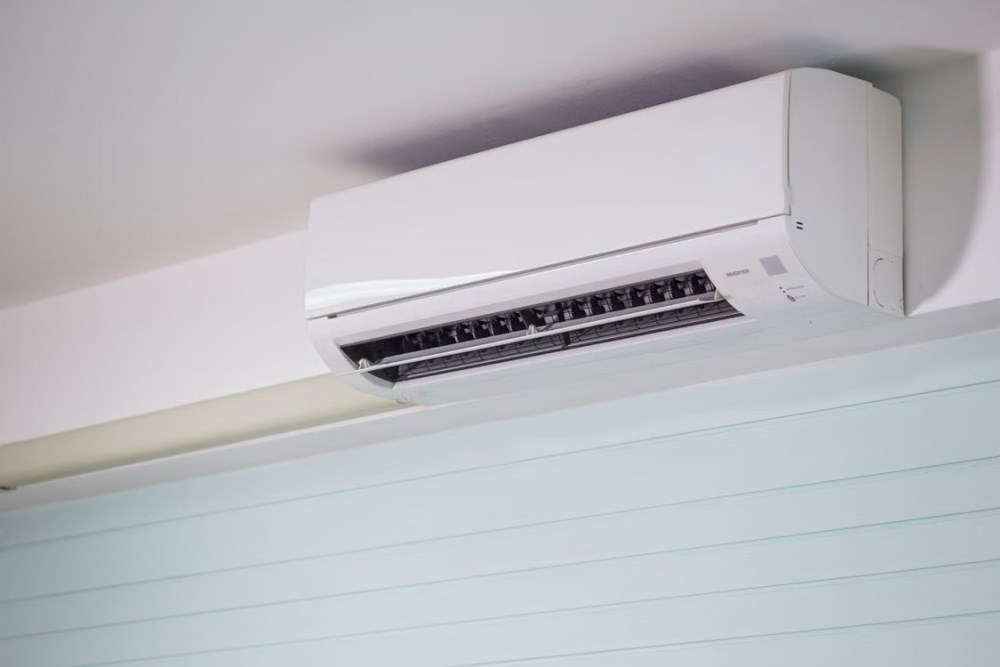
A Basic Guide to Split Type Aircon Installation: Mistakes Homeowners Should Avoid
Most people choose an aircon by comparing brands, prices and horsepower. The question of where to put it often comes up much later, sometimes when the installer is already standing in the room.
By then, the available options may be limited. The cabinets are fixed, the electrical outlets are in place and the easiest route for the drain may already be covered. A little planning can prevent an awkward-looking installation, uneven cooling and maintenance problems later on.
For anyone building or renovating a home, split type aircon installation should be discussed early with the architect, electrician and installer. Here are the common mistakes that tend to cause trouble. This coordination forms part of the wider planning and structural engineering involved in building a home.
Choosing an aircon from room size alone
Room size gives you a rough idea of the capacity you need. The amount of heat entering the room gives you a more useful picture.
Take two bedrooms with the same floor area. One is downstairs and shaded for most of the day. The other is on the top floor with wide windows facing the afternoon sun. The extra heat entering the upstairs room makes it harder to cool.
Ceiling height, insulation, window size and the number of people regularly using the space also affect the cooling load. Kitchens and open-plan living areas have their own demands because heat travels between connected spaces.
An undersized aircon may run for hours and still leave the room feeling warm. A unit that is too large may cool the air quickly, switch off and leave the room humid. ENERGY STAR’s guidance on aircon sizing also recommends matching the unit’s capacity to the room, since an oversized aircon may cool the space before removing enough humidity. Ask the installer to inspect the room and recommend a suitable capacity for its actual conditions.
Putting the indoor unit on the most convenient wall
The nearest empty wall may look like the obvious choice. Its position still needs to work with the shape and use of the room.
A wall-mounted unit is usually placed high enough for cool air to spread through the space. Give that air a clear path. Curtains, tall cabinets, beams and partitions can interrupt the flow and leave warm spots around the room.
In a long room, the unit should ideally send air along its length. This helps the cool air reach the far side. The final position also needs enough clearance around the casing, along with a sensible route to the drain and outdoor unit.
Think about where people spend the most time. Cold air aimed directly at a bed, sofa or work desk soon becomes uncomfortable. Adjustable louvres can help with small changes in direction. Good placement makes a bigger difference.
Bedrooms deserve particular attention. A unit directly above the headboard can be difficult to clean and may drip near the bed if the drain becomes blocked. A side wall often gives the air more room to circulate without blowing straight at the person sleeping.
Leaving the drain route until installation day
Aircons collect moisture from the room, and that water needs a clear way out. The drain pipe should run continuously downward toward a safe discharge point. Official Panasonic installation guidance warns that poor drainage can allow water to enter the room and recommends choosing a location that remains accessible for maintenance. Sags and upward sections allow water to collect inside the line, increasing the chance of a blockage or indoor leak.
Decide where the water will go before drilling begins. A drain that empties above a path can create a slippery patch. One that runs down a finished exterior wall may leave stains. It also needs to stay within any rules set by the condominium or subdivision.
Many homeowners prefer hidden pipework because it gives the room a cleaner finish. Include a way to reach the connections if the drain needs to be cleared. A blockage is a small repair when the pipe is accessible. It becomes a larger job when the pipe disappears behind permanent cabinets or sealed wall panels.
Squeezing the outdoor unit into a hidden corner
The outdoor unit needs space to release the heat taken from the room. A tight enclosure or poorly ventilated shaft can trap that heat around the condenser and affect its performance.
Choose a stable mounting point with open space around the unit. Follow the clearances listed by the manufacturer. A roof or cover can give some protection from direct sun and rain as long as air can still move freely.
Consider noise and vibration when choosing the location. A condenser attached to a lightweight bedroom wall may be heard indoors, especially at night. Solid supports, secure brackets and proper installation help keep vibration under control.
Access is equally important. Outdoor units are sometimes placed high on a wall to keep them out of sight. Every future cleaning or repair may then require a ladder, scaffolding or special safety equipment. An accessible ledge or service balcony is far easier to live with in a multi-storey home.
Making the pipe run unnecessarily difficult
Refrigerant pipes, electrical wiring and the drain line connect the two units. A direct route usually gives a neater result and leaves fewer sections hidden inside the house.
Sharp bends, long detours and inaccessible joints make installation and future repairs more complicated. Each aircon model also has limits on pipe length and the height difference between the indoor and outdoor units. Long runs may require additional refrigerant and materials, which raises the installation cost.
Plan the indoor and outdoor positions together. Moving one unit slightly can sometimes create a much cleaner route through the wall.
Forgetting that the unit will need cleaning
Filters need to be removed regularly. The coils, blower and drain pan also need professional cleaning over time. Leave enough space to open the front panel and work around the unit.
Ceiling mouldings and built-in cabinets can make this difficult. The technician may need to fit a cleaning cover beneath the unit and reach its internal parts. Televisions, shelves and delicate furniture directly below the aircon can get in the way.
The outdoor unit needs the same consideration. Its panels should be easy to remove, and there should be enough room to clean the condenser coil safely.
Before making holes in a finished wall, have a company experienced in split type aircon installation check the proposed locations. A site visit can uncover drainage, access and pipe-length issues that are easy to miss on a floor plan.
Planning the electrical supply too late
An aircon needs a circuit, cable and protective device suited to the manufacturer’s specifications. This should be included in the electrical plan, especially in a home with several units.
Planning the connection early keeps wiring tidy and helps the electrician avoid conflicts with plumbing, beams and cabinets. It also gives the electrician a chance to check whether the home’s electrical supply can support the expected load.
Look at the whole installation before work begins
Walk through the proposed setup from the indoor unit to the outdoor condenser. Picture where the air will travel, where the water will drain and how a technician will reach both units for cleaning. Check the pipe limits and electrical requirements for the chosen model.
These details are easy to settle during the design or renovation stage. Once the finishes and built-in furniture are complete, every adjustment becomes harder. Early planning gives the installer room to do clean work and gives the homeowner an aircon that fits naturally into the house.


